 This is a quilt kit I purchased from Flying Goose Quilt Shop in New London, MN during the Willmar Country Quilters Quilt Show in September 2011. All the fabrics are cuddle fabric and super soft and cozy. The strips were all precut when I purchased the kit, and it tells you how to do the sew and flip method of quilting, so you sew all three layers of your quilt sandwich at the same time. I had this project done in one weekend and use it every day when I sit in my livingroom to watch TV.
Sunday, January 1, 2012
Cuddle Quilt
This is a quilt kit I purchased from Flying Goose Quilt Shop in New London, MN during the Willmar Country Quilters Quilt Show in September 2011. All the fabrics are cuddle fabric and super soft and cozy. The strips were all precut when I purchased the kit, and it tells you how to do the sew and flip method of quilting, so you sew all three layers of your quilt sandwich at the same time. I had this project done in one weekend and use it every day when I sit in my livingroom to watch TV.
Wednesday, September 28, 2011
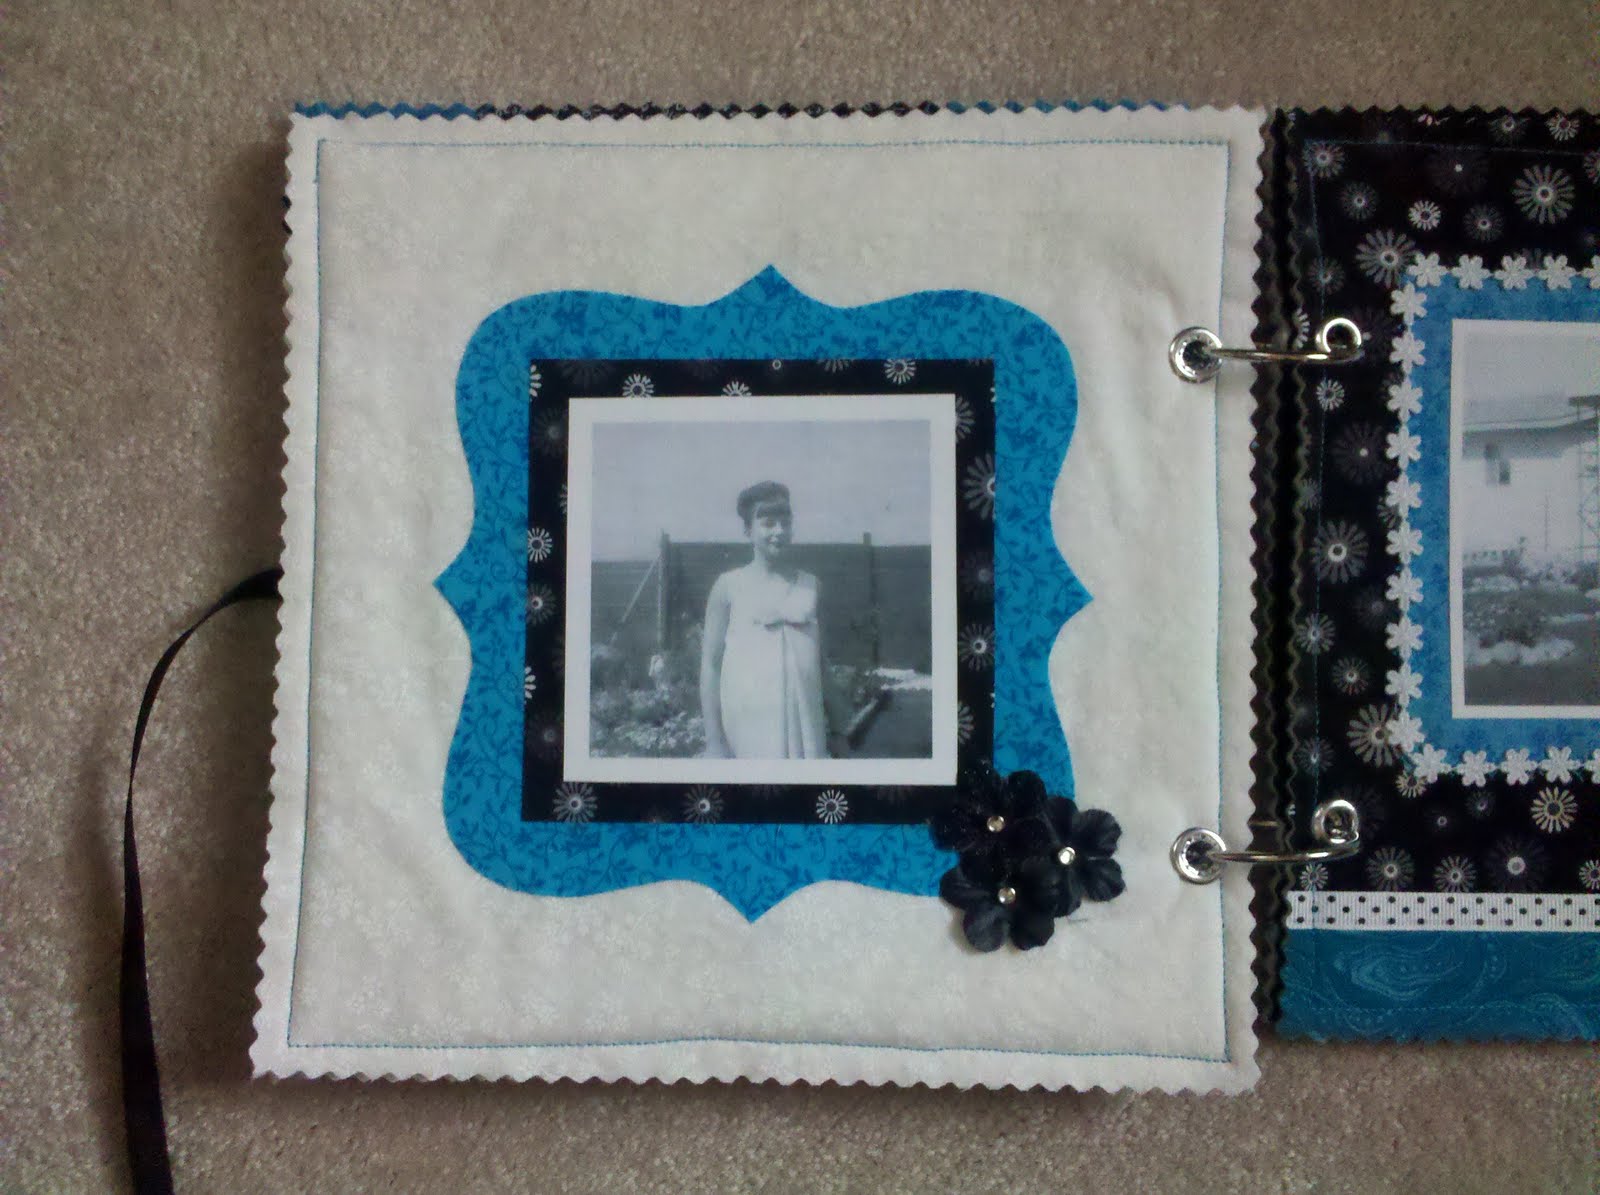
Fabric Scrapbook: Turquiose Memories
 This project incorporates two of my hobbies into one: scrapbooking and quilting. The original inspriation came from Willmar Country Quilters Guild where we were asked to blindly pick a color crayon from a basket, and then make a project using that color, plus black and white. Turquoise was my shade and this is what I made.
I found a pattern on the internet at modabakeshop.com called Eva Scrapbook and used it at my guide to complete this piece. I printed the photos onto a printable fabric on an inkjet printer and then ironed it onto my fabric designed pages. The photos are all of my mom.




Thursday, September 15, 2011
Jaycee Memories - My T-shirt Quilt
 It has been a very long time since I have posted anything here. It's not that I haven't been crafting, I just have had so many irons in the fire! Between scrapbooking, quilting, photography and my everyday life, there just isn't enough time to do it all. I promised last year to post a photo of this t-shirt quilt I was working on. I finally finished it in March 2011, hand quilting and all. So here's the final quilt. I didn't photograph the back, but it is a small, blue floral flannel fabric. It is a very warm quilt.
Wednesday, March 31, 2010
Graduation Album
I have been working on my daughter's graduation album for a few months now and have finally finsihed it. I will be ordering Creative Memories StoryBooks for this album, as I want a copy for myself and my daughter, and there could be others who want a copy too. I have posted a few of the pages so you can see the end result.
I used her favorite color, purple, as the main color for the album. I designed it in StoryBook Creator Plus 3.0 as a 12 x 12 book but decided that it looks just as good as an 8 x 8, so that is the size I will be ordering. I really enjoy digital scrapbooking in addition to traditional paper crafts. Each has its positive aspects and works well for certain purposes.


I used her favorite color, purple, as the main color for the album. I designed it in StoryBook Creator Plus 3.0 as a 12 x 12 book but decided that it looks just as good as an 8 x 8, so that is the size I will be ordering. I really enjoy digital scrapbooking in addition to traditional paper crafts. Each has its positive aspects and works well for certain purposes.


Tuesday, March 30, 2010
Welcome!
 This is a project I will be doing with vinyl, eventually. I did a test with paper just so I could get an idea on what sizes I wanted each word. It will go above our entry door. We currently have an old fabric sign with the word "witamy", which is Polish for welcome, and no one knows what it means, so I used some other languages for welcome. Now I just need to find some time to cut it all out in vinyl and get it on the wall!
Friday, March 26, 2010
Rylynn's Polka Dots
 This is a page I did of my friend's little cutie, Rylynn. I had the scallop/polka dotted paper in my stash and mounted it on a sheet of butter yellow that coordinated nicely with her outfit. The tag with ribbon is Creative Memories Tag Maker, which I sanded the edges of to give it a little contrast. She's a little doll!
Thursday, March 25, 2010
Kalib
 This is a page I did of my nephew Kalib. I used Street Sign Cricut cartridge for his name, and the striped circles were punched with my CM Circle Maker. The 3 layered circle on the ribbon was cut with the CM Cutting System Circle Makers, as the sizes of those were slightly larger than my shape maker punch could do. I still need to do my journaling on this page, but I like the end result.
Wednesday, March 24, 2010
Giddy Up Cowgirl!
 I saved this embossed leaf paper from K & Co. for YEARS waiting for just the right photo to use with it. I took a regular photo and used photoshop to give it that "aged" look. Also used fabric photo corners from Martha Stewart to keep with the vintage look of this page. The copper metal embellishment was another one of those items I've had forever, and it looks great here!
Tuesday, March 23, 2010
Autumn Page
 This was a really simple page to do, but I love how it turned out. One of those beautiful fall printed papers you're not always quite sure what to do with. This photo fit perfectly with a couple mat layers. You can't quite see it, but I sponged the edges of the torn layer with some brown ink to add a little more dimension. More pages to come!
Monday, March 22, 2010
Sweet Baby
 This is my niece at 6 months old. I love the jacket she is wearing, because I too like to wear my leopard print accessories. I used Ashlyn's Alphabet for her name, and the heart came from Plantin Schoolbook cartridge. This was a fun page for me to create. The scallop under the ribbon was Creative Memories Scallop Circle Maker.
Sunday, March 21, 2010
Cute as Can Be

I was at a scrapbooking crop Friday night and all day Saturday. Wanted to share some of my completed pages. The one with this post is my niece Rylee. I had tried several times this day to capture a nice smile, only to get some form of goofy expression from her. This shot was taken after she had made some more silly faces and as she headed towards me and the camera she gave me this nice smile right at the very end of her approach towards me. I used the Storybook Cricut cartridge for the swirly shape behind the photo. The only other embellishment I did was stitch around the outer edge with white thread.
Monday, March 1, 2010
Quilting Again
 I started quilting again after at least a six year absence. I don't consider myself a "quilter" by definition. This project, a t-shirt quilt, is only my third project, the first two being small crib size & wall hanging sizes. I learned to do embroidery and cross stitch in grade school from my grandmother, but have taught myself the quilting process by reading books. Of course home ec class in junior high school gave me the basic sewing machine skills, but I'm no master seamstress either.
I know I still have a lot of room for improvement. I am just now understanding why you really need to press your seams and still mastering my own unique quilting stitch, which is a form of what is called the "stab" stitch, not as common as the standard quilting stitch. Some day I'd like to master that as well, but it feels so odd for me.
I'll post more photos as I get closer to being done. These t-shirts are from my fifteen years as a Willmar Jaycee. I didn't want to get rid of them, but didn't wear many of them at all. I'm recycling and preserving fond memories of my years as a Jaycee.
My next quilting project after this one I hope to be a denin quilt using my old jeans I've been collecting.
Monday, January 4, 2010
Back to sewing
 My craft project this past Sunday. Finally got one thing off my "to do" list. It's called a Sweet Treat Bag after the HoneyBun Fabric by Moda used to make it (just 10 strips of fabric 1.5" x 44").
Monday, December 7, 2009
Scrapbooking Armoir for Sale


A work center built by my husband out of oak - it is currently unstained. Two piece unit: top unit is 23" deep with four shelves. Inside shelves are adjustable to any height. Shelves on right side of door to hold craft punches or other items, dowels can be used for ribbon spools. Pull out work table can be put away with your project/scrapbook left as is until you can return to it - 40" wide and 24" deep.
Bottom unit of armoire has side doors that retract into unit. This unit is a closed floor style. As you can see the bottom is raised off the floor. Price starts at $1200 for unstained armoire, without bottom drawers. It also shows a separate set of drawers that is optional to purchase for $600, unstained. It has 16 drawers to hold 12 x 12 papers/scrapbooks/tools - sizes range from 1" to 5" deep. Can stain for additional fee if requested.
Overall unit dimensions 48" wide, 24" deep, 68" tall with top and bottom sections for easy moving.
Please contact me if you have any questions or are interested. Live in Minnesota and may be willing to deliver depending on your location, or possibly meet halfway, etc.


This is my armoire where I work on my crafts. I love it because I don't have a separate room to do my crafting, so this looks beautiful near my dining room when not in use. I can also leave my works in progress on the pull out worktable and not disturb anything when I need to put it away.
This is the open floor style bottom. As you can see, I have wheeled units I can roll in & out when I'm crafting. This style starts at $1000 unfinished and $1400 stained.
Tuesday, November 17, 2009
The L Letterpress Tool Kit Giveaway!

The L Letterpress Tool Kit Giveaway!
This is one of the coolest new tools I have seen in a while! The concept is not new (in fact, letterpress is an old art) but it is so cool to see it back in a smaller, more user friendly format! Go and enter to win one of these great tools!
Posted using ShareThis
Friday, November 6, 2009
Girlfriends!


Check out the cute "girlfriends" you can make at the CM blog! Go to this link to see both traditional (using paper & punches) and digital versions. Cute, cute, cute!!
http://blogs.creativememories.com/ideas/2009/11/make-friends-with-cm-no-literally-.html
Wednesday, November 4, 2009
New Laptop

My new Gateway NV7802u laptop...woohoo! So far I love it!! 17.2" screen looks great. Windows 7.0 is taking a little time to adjust to. Can't wait to start doing some digital scrapbooking with my Storybook Creator Plus 3.0 software from Creative Memories on here!!
Tuesday, October 27, 2009
The Gypsy 24-hour Design Challenge Project by K Wiggins

The Gypsy 24-hour Design Challenge Project by K Wiggins
Posted using ShareThis
Check out this awesome layout using the new Gypsy from Cricut and the Life's A Beach cartridge. What an inspiring and fun layout!! You can vote for her to win the challenge by clicking on the link above.
Tuesday, October 13, 2009


Friday, October 2, 2009
Make & takes at Scrapfest

 I'm finally getting to another post from Scrapfest. These are two of the 15 free make & takes we did this year at the various booths. Most of these projects only took a few minutes to do. I will post more of my samples in the coming days.
Subscribe to:
Posts (Atom)
All machine sewn except the button and velcro closure for the flap. This was something I picked up at the Bug Bee Hive weekend scrapbooking retreat back in October after watching the local quilt shop (Sweetwater Cotton Shoppe in Paynesville, MN) bring one of their samples with that Friday night to show us. The kit cost $6.00...I just had to buy some fusing, the button and the velcro, so it was an inexpensive project, and wasn't as complicated as I thought it might be.
I don't do a lot of sewing, but when I saw the finished sample I had to give it a try, and for $6.00 I wasn't going to be out much if I ruined it.
Here's the link to the PDF for the instructions...http://www.unitednotions.com/fp_sweet-treat-bag.pdf